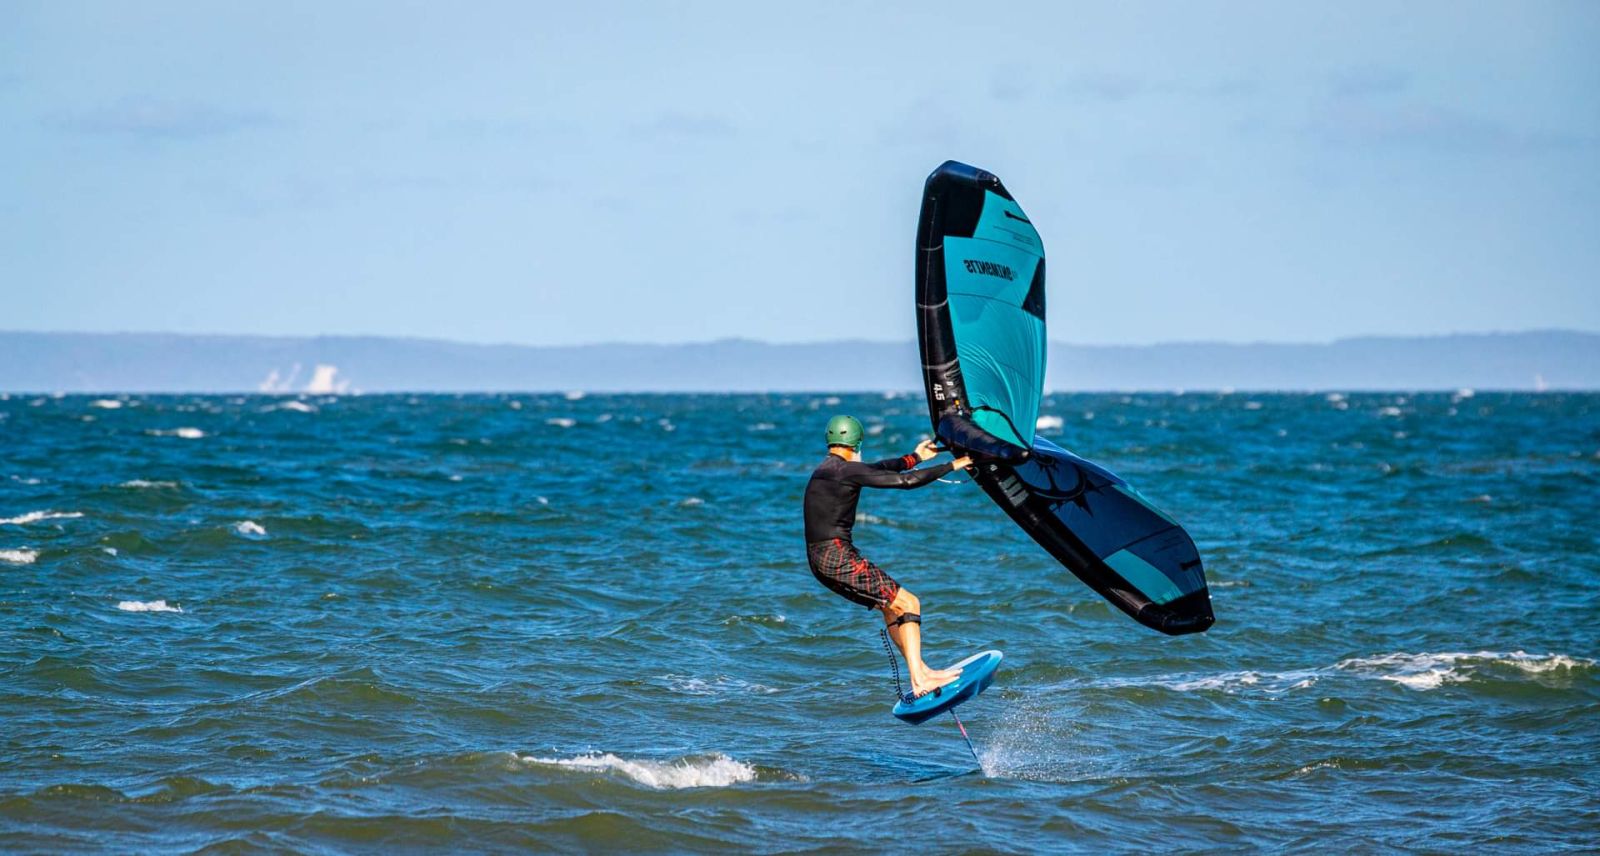
“I promise to be faithful and till death do us part”
But I gave into temptation, and since adding foiling to my quiver I have discovered a whole new spice of life. When so many of my mates are complaining about the lackluster conditions I am still frothing on the 1-2ft ankle slappers.
I am not alone, foiling is a relatively new sport, however the unforgettable feeling of lift and glide as you fly above the water has meant that people of all ages, backgrounds and disciplines are now fully fledged foil frothers.
Wakeboarders & skiers have taken up wake foiling, perfect for the choppier days. Surfers have taken up prone or tow surf foiling, perfect for the smaller or fatter days. Kiters have taken up kite foiling as it allows them to enjoy light wind days. Many have found that foiling has been an incredible bridge between a range of sports and have become multi discipline foilers.
If you are interested in learning to foil and joining this awesome global community of stoked watermen and waterwomen read on…
How foiling works
The science that explains how a foil flies and guides the intricacies of foil design is incredibly complex, and frankly I don’t have a PHD in hydrodynamics. However, in simple terms, as the foil moves forward through the water, the wings create lift, raising the board and rider up off the water.
Two key elements of lift are speed & size of the wing, the faster you go and the bigger the wing, the more lift you will feel.
Acting against lift you have weight and positioning. Increased weight of the rider, foil & foil board will affect the lift. The further forward you are over the front wing(front of board), the harder it will be for the foil to lift the board and rider off the water.
.jpg)
.jpg)
The Gear
There is a variety of foils on the market, each with their own designs, purposes and strengths. It is worthwhile having a basic understanding and getting good advice before investing in your first foil & foil board.
Parts
The foil itself is made up of a front wing, a smaller rear wing (or stabiliser) connected by a horizontal fuselage that connects to the bottom of a board via a vertical mast.
.png)
Materials
Foil parts are typically made from either an aluminum alloy or carbon. Generally the carbon foil parts are lighter and hence better performing, however this comes with a bigger price tag. Aluminum masts are durable and more affordable when learning to foil.
Tips and Hints
Whilst different foils and foil boards might be primarily designed for certain foil disciplines, there is also a lot of overlap, for example, a foil that is good for wake foiling, can also be good for surf foiling.
Undoubtedly you will hear about the aspect ratio of foil wings when looking to buy your first foil. Aspect ratio is the ratio between the wingspan and chord (length from leading[front] edge to trailing[back] edge of a wing). Think fighter jet (low aspect) vs hang glider (high aspect).
Generally speaking a lower aspect ratio wing will create lift at slower speeds and be more stable for beginners. Whereas a high aspect ratio wing will give you more glide (that magic feeling) however, it takes more speed to get up gliding.
When it comes to foil boards, whilst learning, bigger is better. When thinking about mast length, something around the 60-70 cm length is good for learning, then you may like to progress onto something longer as you build your skills.

Basic beginners advice
The best way to learn quickly is in flat water with an e-foil. Other options include, using a boom/bar off the side of a boat, using a tow rope behind a boat or jetski. Being able to control the speed and having flat water definitely makes it easier to learn and progress quickly. Paid lessons with an experienced instructor are of course incredibly valuable, however not absolutely necessary.
Whilst foiling in certain conditions can be borderline meditative as you effortlessly glide above the water with almost no impact through your knees and joints. The foil itself is hard and sharp and can hurt. It is worthwhile wearing at least a helmet and possibly an impact vest as well, particularly when learning. When you do inevitably fall, fall away from the foil and if possible behind it rather than in front of it, avoid the “taco”.
The foil connects to the board via two track boxes, you can adjust the connection point forward and back. I would recommend beginning with the foil at the back of the tracks, to keep your weight further over the front to help control the lift. Once you are a bit more comfortable you can begin to test it further forward.
Many boardriders are used to being back foot heavy and can be surprised by the rodeo that ensues when they try that on a foil. Start with your weight over the front of the board to counteract the lift and keep the board planing on the water as you begin. Then once comfortable, slowly adjust the weight back and you can gently bring the board off the water.
Any movement to either side is magnified through the length of the mast, so be sure to stand up straight and tall.
I have only covered some foiling basics, thankfully the foiling pioneers at Slingshot have developed an incredibly in depth online foiling course, Foil Academy, that you can access for free.
I am by no means a foil expert, but I am loving the experience of being a grom again and learning a new board sport that compliments my other sports and lets me have more fun more often, good luck on your foil journey!
If you have more questions, feel free to get in touch with me at joelb@slingshotaustralia.com.au or on 0421 111 156.